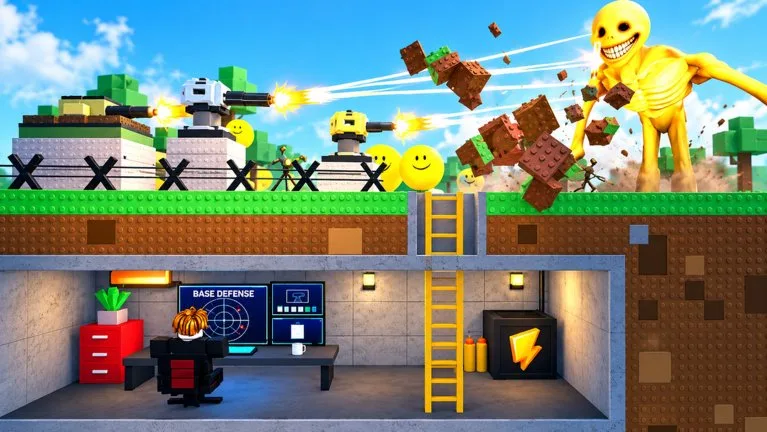
Bunker vs Verity is a Roblox defense game by Beyondd Games for up to six players. You fortify a bunker, place turrets, fight endless waves of Verities, earn coins from defeats, upgrade, and hide underground when the raid gets out of hand. The longer you survive, the harder the Verities become. Your score is waves survived. There is no published final wave.
Guides describe a day and night rhythm. In footage the raid is player-started. Finish the shell before you start it, because building and weapon purchases lock while a raid is active.
PC controls seen in footage
These bindings come from PC recordings, not a printed control list. Confirm them in your own tutorial on mobile or console.
- Press 2 to dig.
- Press P to open the blocks menu.
- Press 3 in the build menu to switch to turrets.
- Press 1, or the Start raid control, when the entrance is closed.
- Shoot Verities with your held gun. A new run has been shown with a rifle, and one run started on a machine gun.
Opening order
- Pick a spot with a clear view of the approach and room to repair. Do not pack the interior so tightly that walls, props, or teammates block gun lines.
- Dig down and close the hatch. A new session prompts you to dig deeper and build a wall because a raid is coming.
- Wall the entrance first. At least one starter block is free, and some low-HP blocks cost nothing, so the first wall does not wait on income. Skip decoration.
- Place one turret on the main approach. A first turret has been free in some runs. Later turrets cost coins. Placed turrets fire on their own.
- Leave coins unspent. A repair fund matters more than a small extra upgrade, because one breached wall can end the run.
- Check the entrance, firing lanes, interior paths, and the weakest wall. On a team, assign lanes before you start.
- Start the raid. Stay near the bunker. Shoot the Verities that reach the walls and let the turret handle groups still on the approach.
What night one should look like
Early Verities are low durability and mostly test the entrance. One covered approach is enough for that opening. Success is repaired walls, at least one turret still standing, and coins still in reserve.
| Phase | Walls | Turrets | Coins |
|---|---|---|---|
| Early | Close exposed entrances before upgrades | One turret on the main approach | Keep a reserve after the first builds |
| Middle | Upgrade sections that get hit repeatedly | Add coverage only when a lane slips | Fund a repair, one upgrade, and one turret |
| Late | Reinforce the weakest section first | Keep overlap on positions that already work | Enter hard waves with a reserve |
| Between waves | Find the next breach | Check angles and gaps | Split coins between repairs and the next buy |
Mistakes that end the opening
- Spending the whole balance before the first night.
- Building so tight that a turret cannot see the lane.
- Spreading a few turrets across several weak spots before you know which lane is used.
- Buying another turret while the ones you own are blocked.
- Chasing Verities away from the bunker and leaving the entrance open.
Shop prices in recordings do not match each other. One first turret was free and a later buy was 650 or 800 coins. Another basic turret was about 300 coins. Read the build menu for today's price, then continue with how to build the shell and where the turret goes.