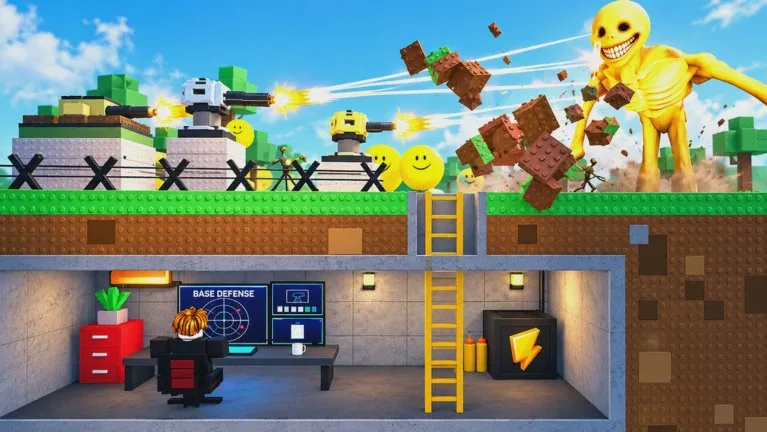
There is no single best upgrade. The purchase that saves night one is wasted on a deep wave. The order that footage and guides support is conditional.
The first three buys
- Close exposed entrances with walls. An unsealed opening is a lane. Secondary rooms wait until the current line works. Keep a fallback behind the first layer.
- Buy one turret that covers the main approach. One gun on the lane they use beats thin coverage on several lanes.
- Stop before the balance is empty. During a wave, a breach ends the run faster than missing damage.
One recorded first decision put an 800-coin shotgun turret in the middle, used the free block and spike traps, and skipped a 3,000 HP bunker upgrade because the coins were not there. Blocks, turrets, free traps, and that HP upgrade can sit in the same buy window. Prices display before you commit.
After the opening
Upgrade whichever piece is limiting survival.
- If walls break, reinforce the sections that are hit. Reinforced walls on a quiet lane are wasted coins.
- If enemies live long enough to chew the core, fix blocked angles before you buy another turret.
- Watch the first two waves and spend on the lane that took the damage.
- In co-op, say who is buying what. Duplicate purchases are a common waste.
| Stage | Priority | Waste |
|---|---|---|
| Opening | Structure, then one defensive position | Several low-impact spots |
| Middle | The wall or turret that is failing | More turrets on a broken layout |
| Late | Sustained damage and durability on the weak side | Cosmetics |
Repair, then upgrade, between waves
Official text lists "upgrade your bunker and defenses" separately from placing blocks and turrets. The exact confirm click on an existing structure has not been filmed from start to finish. One player browsed a 3,000 HP bunker upgrade and passed. Another pointed at a finished build and said it could be upgraded from there. A purchase over 200,000 coins was described only as making the base look impressive, with no stat named. One late base read 7,000 HP on screen. A mid-raid "can't upgrade" moment suggests the option is not always available.
Until your menu shows an in-place upgrade, the completed improvements on tape are buying better blocks, replacement turrets, doors, and farms. Repair broken walls first. Spend in the break, not during the breach. Enter a hard wave with enough for an emergency repair, one defensive buy, and a replacement turret.
Fan guides rank defense roles, not named models, as balanced core, single-target, crowd control, fast early guns, then narrow specialties. Those letters are editorial, not an in-game tier tree. Use them as a phase hint: a reliable approach gun first, crowd control when groups stack on one lane, single-target fire when one durable Verity is chewing a wall. Named models and session prices are on Turrets.